MASK V2 terminal
The MASK V2 terminal arrives assembled and already linked to your account, and all your employees are already in the system. There is no registration, no code and no account to create. This page follows the printed manual that comes with the device.
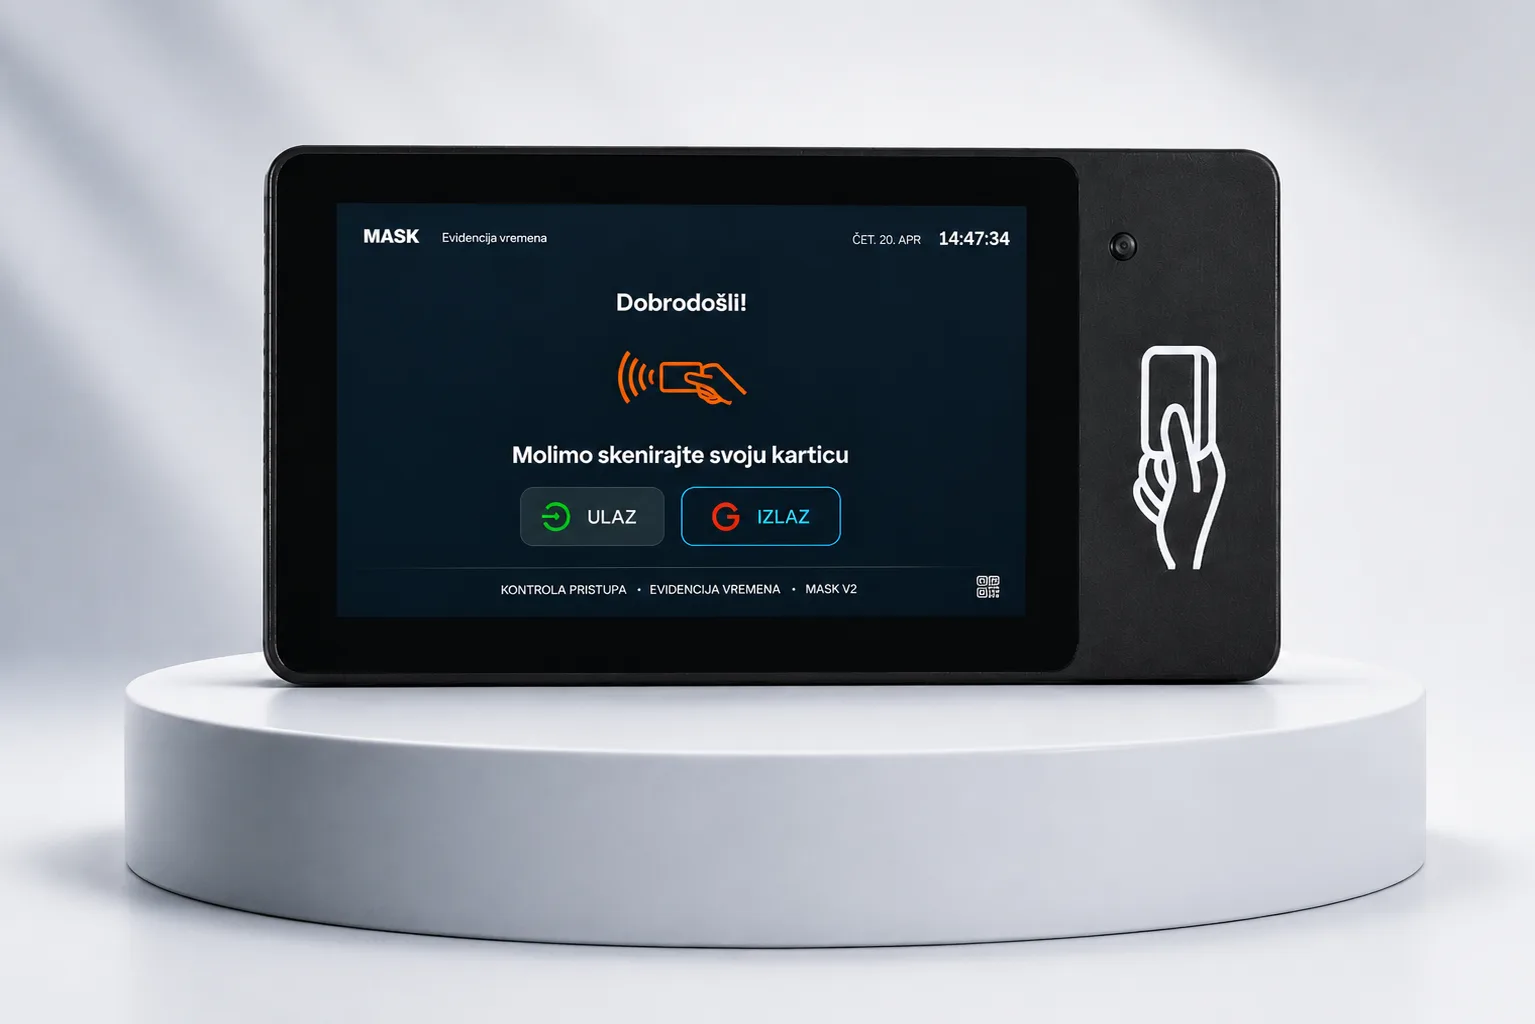
The full manual, with the drilling template at actual size, comes printed with the device. Administrators also find it in the MASK web app, on the Manuals page.
In the box#
| Item | Description |
|---|---|
| MASK device | Fully assembled, with a 7" screen and a built-in card reader. The power cable is fixed. |
| Employee cards | Every employee gets their own card. |
| Administrator card | For settings and troubleshooting. Keep it locked away, apart from the employee cards. |
| Drilling template | In the printed manual, at actual size. |
| Screws and wall plugs | 2 screws and 2 wall plugs for wall mounting. |
Setup#
1. Wall mounting#
Where to mount it:
- 1.4–1.6 m from the floor to the centre of the screen.
- Near a socket: the power cable is fixed and runs straight to the socket.
- Indoors, at the entrance every employee uses.
- Within WiFi range, or with access to a network cable.
Mounting with the template:
- Hold the template against the wall at the chosen height.
- Straighten the template and tape it in place.
- Mark the holes through the template, then remove it.
- Drill the holes, insert the wall plugs and drive the screws in, but not all the way: leave the head about 3 mm from the wall.
- Hang the device by its large openings over the screw heads, slide it down and run the cable to the socket.
Your own screws. The head must be 10–13 mm across: it has to pass the large opening (Ø 13.9 mm) but not the 9 mm wide slot.
2. First power-on#
- Plug the device into the socket.
- Wait. The first start can take up to 60 seconds; the MASK logo shows while the device starts.
- The device is ready when the main screen shows PLEASE SCAN YOUR CARD with the ENTRY and EXIT buttons.
Once the main screen shows, employees can scan. The card reader sits to the right of the screen, marked with the card icon.
3. Connecting to WiFi#
The device comes configured for your WiFi if you included it in your request. If you did not, or if the screen shows OFFLINE MODE, set up WiFi with the administrator card, following the steps in the printed manual. If you need help, contact the service team.
4. Final check#
Take any employee card and make one test entry and one test exit.
- Test entry. Touch ENTRY and scan the card. The screen confirms the entry.
- Test exit. Touch EXIT and scan the same card. The screen confirms the exit and shows the total time.
- Open the MASK web panel and check that both records are there.
If both records show in the web panel, the device works and setup is complete. Post the page with the instructions for employees from the printed manual next to the device.
Daily use#
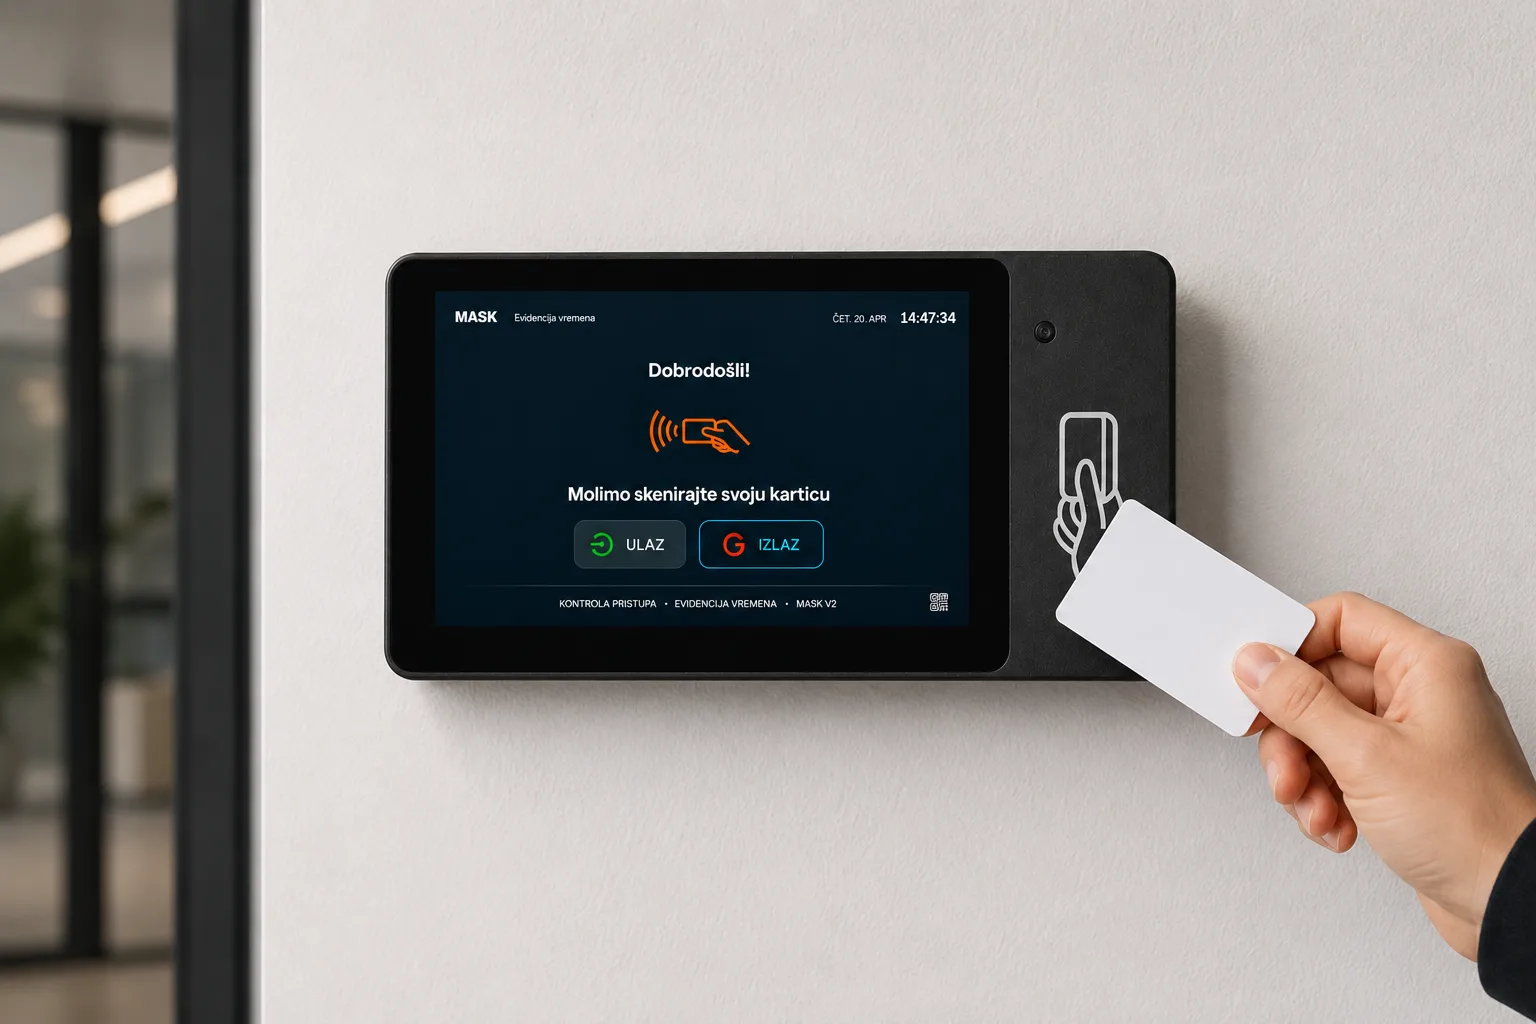
How to scan#
- Touch ENTRY when you arrive and EXIT when you leave.
- Hold your card to the card icon on the right of the screen.
- Wait for the confirmation on screen and the beep. Done.
Do not scan again until the confirmation shows. While a record is processed, the reader takes no other card.
Offline mode#
Without internet, scanning still works and no record is lost.
- No internet. The screen shows OFFLINE MODE. Scan as usual: the record is saved on the device.
- Internet is back. The device sends the saved records. While it syncs, nobody can scan; wait for the main screen to return.
- Ready. The main screen is back. Carry on as usual: all records have been sent.
Troubleshooting#
The device does not respond, a card is not read, the screen is frozen or shows an error message? For any of these, do the same:
- Restart the device as described in the printed manual, and wait for the main screen.
- If the problem persists, contact our service team.
Service team#
- Phone: +387 60 338 4228
- Email: dev@mask.ba